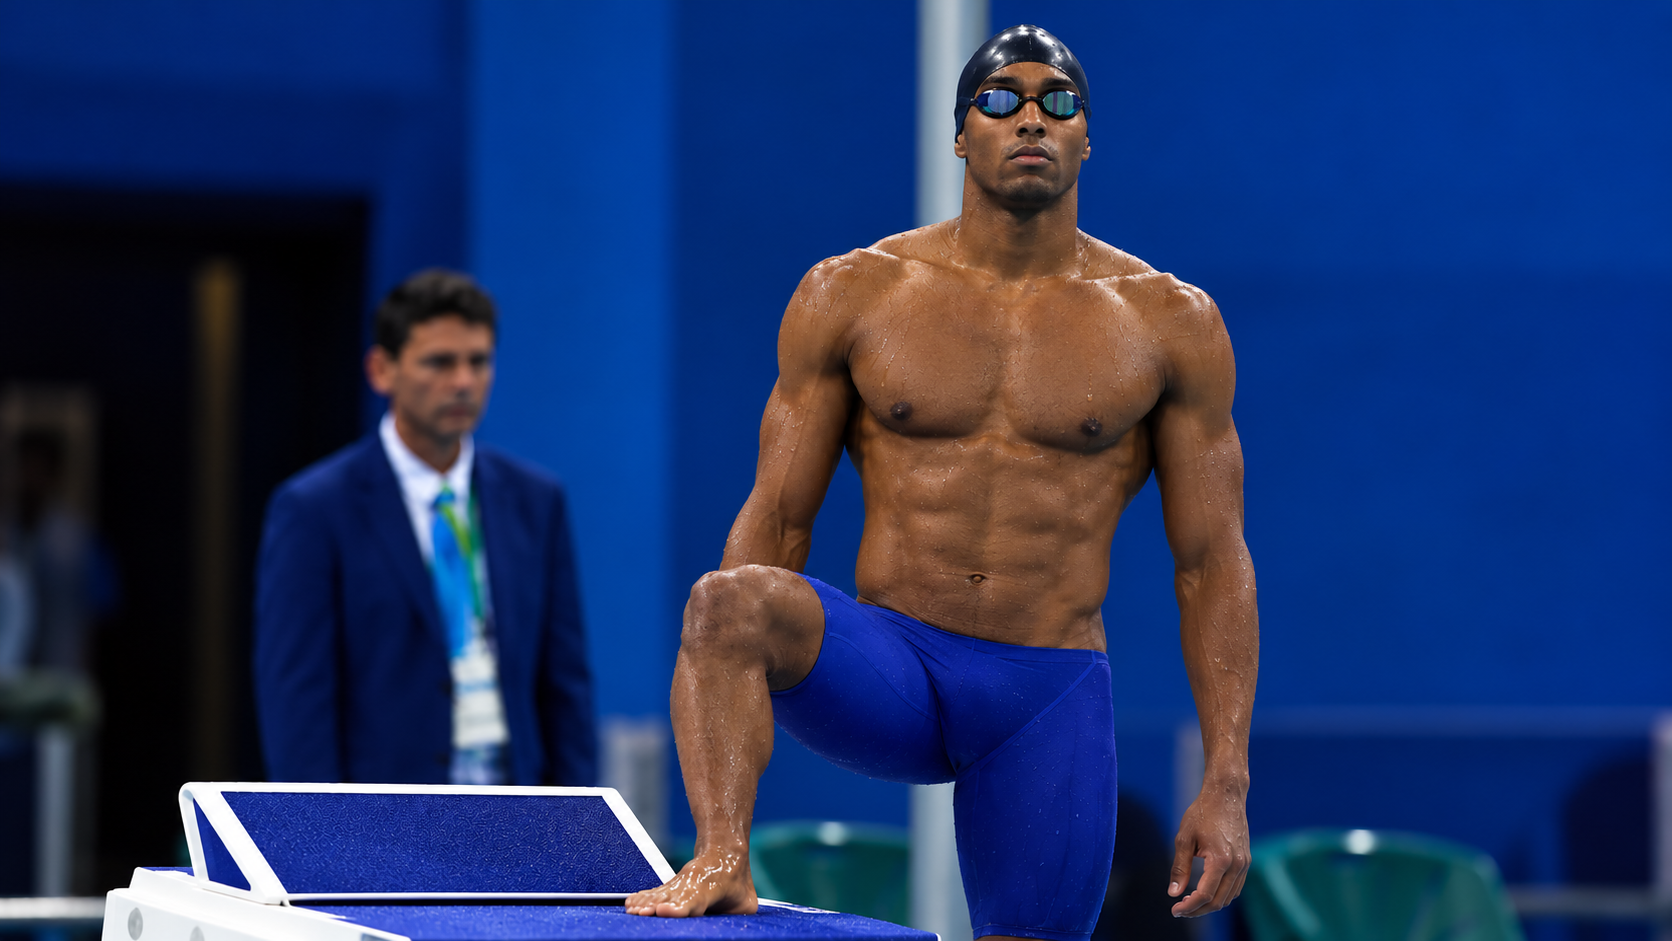
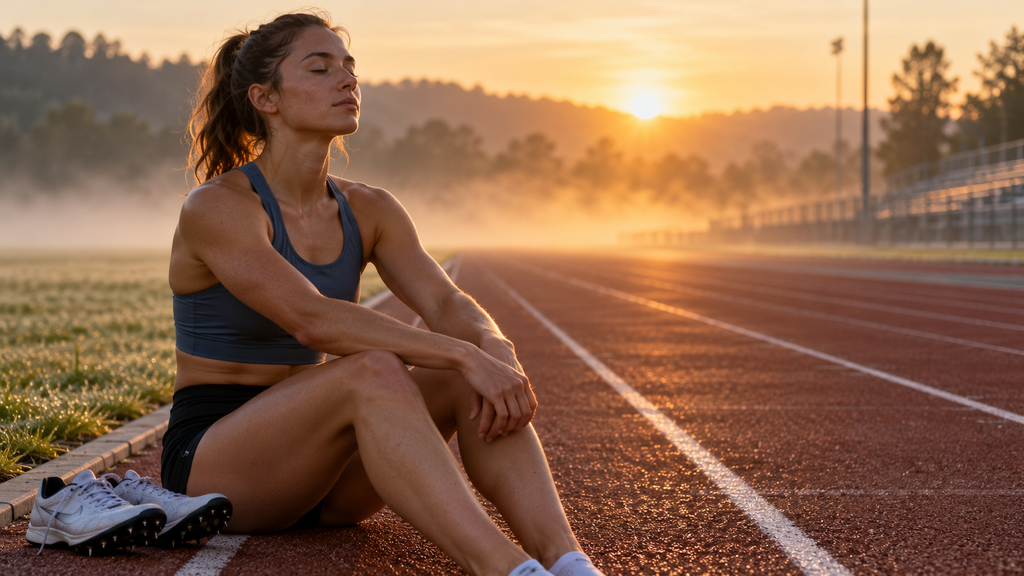
The best athletes rehearse their performances long before they step onto the start line. They have already felt the gun go off, handled the burning legs in the final lap and responded calmly to the mistake that would rattle anyone else. That is the power of visualization for athletes: a deliberate mental practice that lets you train skills, confidence and composure without adding a single mile to your legs.
This guide explains why mental rehearsal works and gives you a simple seven-step practice you can start this week. You need nothing more than 10 to 15 minutes and a quiet place to sit.
What Is Visualization for Athletes?
Visualization, often called mental imagery or mental rehearsal, is the practice of creating or recreating an experience in your mind using all of your senses. It is not daydreaming about winning a medal. It is structured, specific practice of the movements, decisions and emotions you will meet in training and competition.
Good imagery is multi-sensory. You see the track, hear the crowd, feel the ball leave your hand, smell the chlorine and notice your heart rate climbing. The more real it feels, the more useful it becomes.
There are two main perspectives:
- Internal (first-person): you see the scene through your own eyes, as if you were there. This is usually best for rehearsing feel, timing and decision-making.
- External (third-person): you watch yourself as if on video. This is useful for checking technique, body position and form.
Most athletes benefit from using both and switching depending on what they are working on.
Why Visualization Works
When you vividly imagine a movement, your brain activates many of the same motor and sensory regions it uses when you physically perform it. Sport psychologists call this functional equivalence. In practical terms, mental rehearsal strengthens the neural pathways behind a skill, so the real movement feels more familiar and automatic.
Imagery also works on the mental side of performance. Rehearsing a race in detail reduces uncertainty, and uncertainty is a major source of pre-competition anxiety. When you have already “been there” a dozen times in your head, the real event feels less threatening and more like a repeat.
Research over several decades supports imagery as a way to improve skill learning, confidence, motivation and emotional control. It works best as a supplement to physical training, not a replacement for it.
The PETTLEP Model: Making Imagery Realistic
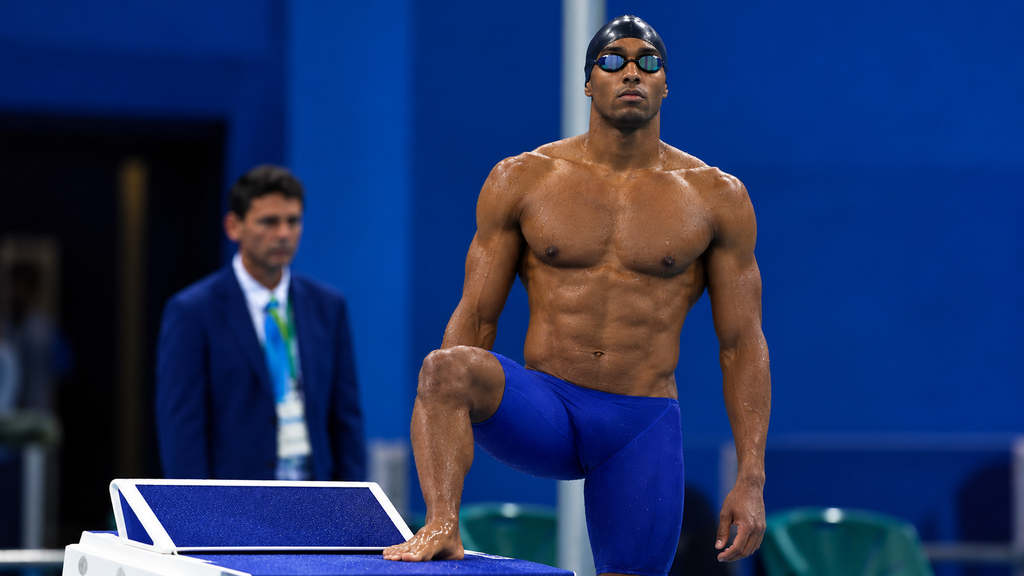
Sport psychologists Paul Holmes and David Collins developed the PETTLEP model to make imagery as close to the real thing as possible. Use it as a checklist when designing your sessions:
- Physical: adopt the stance or position you would be in. Hold your racket, wear your spikes or sit on your bike.
- Environment: imagine the actual venue. Use photos or videos of it if you have never been there.
- Task: rehearse the specific skill at your current level, not an idealized version.
- Timing: imagine movements in real time, not slow motion, for most of your practice.
- Learning: update your scripts as your skills improve.
- Emotion: include the nerves, excitement and effort you will actually feel.
- Perspective: choose internal or external views deliberately.
The 7-Step Visualization Practice
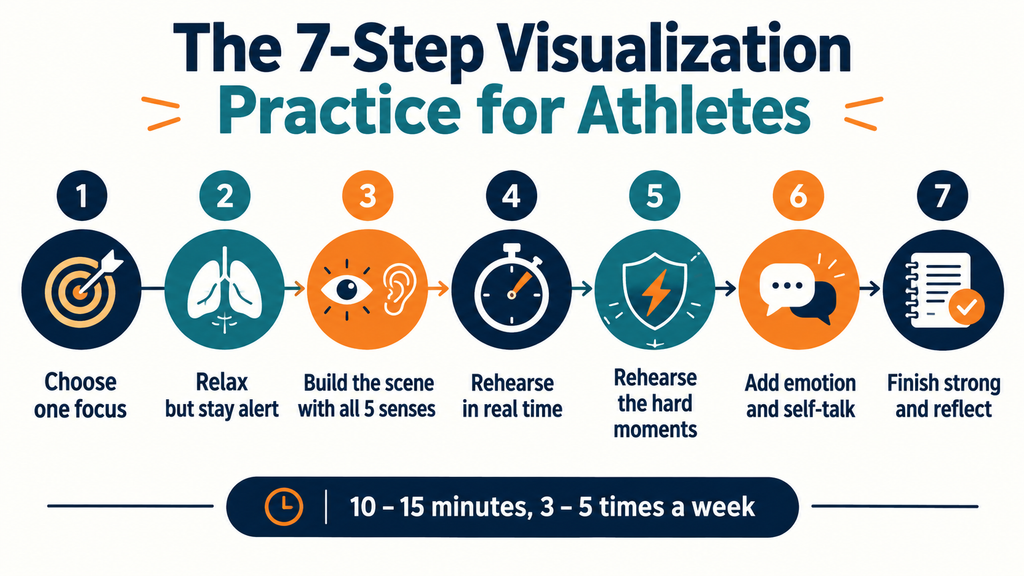
Step 1: Choose One Clear Focus
Decide what this session is for. Pick one target: a skill (a tennis serve, a race start), a scenario (the last 400 m of a 5K) or a mental state (staying calm after an early error). One focus per session keeps your imagery sharp and specific. If you need help choosing targets, start from your process goals (see our post on goal setting).
Step 2: Get Relaxed but Alert
Sit or lie somewhere quiet. Close your eyes and take five slow breaths, breathing in for four counts and out for six. You want to be calm enough to focus, but not so relaxed that you drift off. For pre-competition imagery, sit upright to stay alert.
Step 3: Build the Scene With All Five Senses
Place yourself in the environment. What do you see: the colour of the track, the lane lines, the officials? What do you hear: the crowd, your breathing, the announcer? What do you feel: the temperature, your kit, the ground under your feet? Add smell and taste if they are relevant. Take 30 to 60 seconds to make the scene vivid before any action starts.
Step 4: Rehearse the Skill in Real Time
Run through your chosen focus at the speed it would actually happen. Feel the movement from the inside: the weight shift, the rhythm, the release. If you lose detail, slow down for one repetition to fix it, then return to real time. Repeat the skill three to five times, getting a little clearer each round.
Step 5: Rehearse the Hard Moments
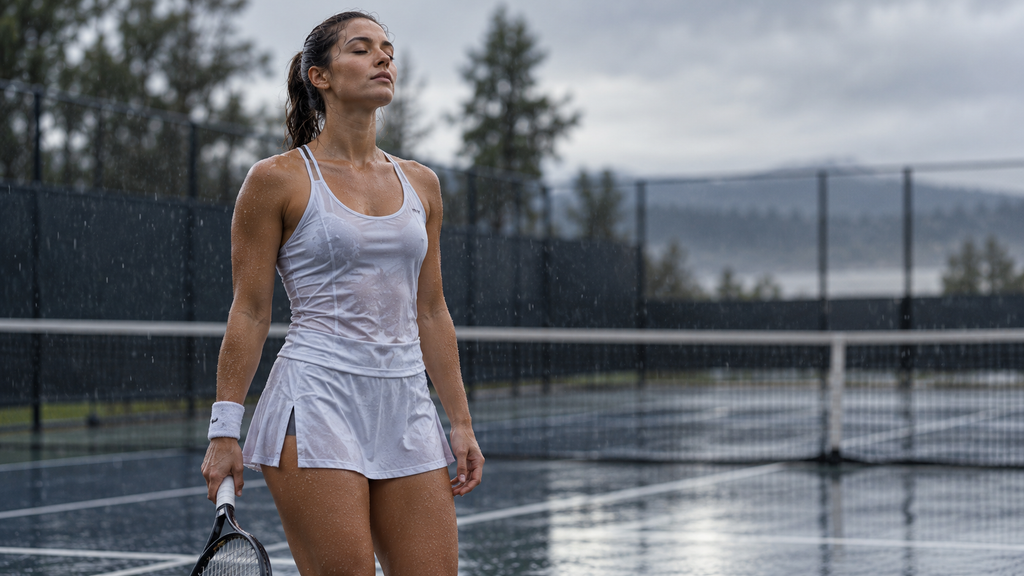
This is the step most athletes skip, and it matters most. Imagine something going wrong: a slow start, a missed shot, a rival surging past, rain starting mid-race. Then imagine yourself responding well. See yourself resetting with a cue word, adjusting your plan and getting back on task. This is sometimes called coping imagery, and it builds the composure that wins close contests.
Step 6: Add Emotion and Self-Talk
Let yourself feel the nerves before the start and notice how you turn them into energy. Hear the exact phrases you will use: “Smooth and strong,” “Next point,” “Stay tall.” Pairing imagery with planned self-talk links the picture in your head with a response you can trigger on the day.
Step 7: Finish Strong and Reflect
End every session by imagining yourself completing the task well and feeling satisfied with how you handled it. Open your eyes and spend one minute noting what felt vivid, what was fuzzy and what to adjust next time. A short line in your training log is enough.
A Sample 10-Minute Session
Here is how the steps fit together for a 1,500 m runner rehearsing the final lap:
- Minutes 0–1: five slow breaths, eyes closed, seated upright.
- Minutes 1–2: build the scene — the bell, the crowd noise rising, the tightness in the calves.
- Minutes 2–5: rehearse the last lap in real time three times, focusing on staying relaxed in the shoulders and driving the arms on the final bend.
- Minutes 5–7: rehearse being boxed in at 200 m, staying patient and moving out on the straight.
- Minutes 7–9: add the cue words “tall and quick” and feel the effort turning into speed.
- Minutes 9–10: cross the line strong, open your eyes and note one thing to improve.
Confidence Is Built, Not Born: Evidence Journals and Small Wins
Common Visualization Mistakes to Avoid
- Only imagining perfection. Flawless runs feel good but leave you unprepared. Always include at least one setback and your response.
- Being vague. “I see myself running well” is not enough. Specific sensory detail is what makes imagery effective.
- Focusing on outcomes only. Picturing the podium can motivate, but rehearsing the process is what improves performance.
- Practising inconsistently. Imagery is a skill. A few short sessions every week beat one long session before a big race.
- Waiting until race week. Start now, in training, so the practice feels natural by competition season.
Making Visualization a Habit
Aim for 10 to 15 minutes, three to five times a week. Good times to practise include:
- Before training: rehearse the key skill of the session for two minutes.
- After training: replay what went well and correct one thing that did not.
- Before bed: a calm, short session focused on an upcoming event.
- Race morning: a brief run-through as part of your pre-competition routine (see our Race-Morning Routine post).
If you struggle to create clear images, start with something you know well, such as your own kitchen, then build up to sport scenes. Watching video of yourself or the venue before a session also helps.
Reflect and Reset: A Year-End Exercise for Athletes
Frequently Asked Questions
How long should a visualization session last? Ten to 15 minutes is enough for most athletes. Short, focused sessions of two to five minutes before training also work well.
Does visualization actually improve performance? Yes. Research consistently shows that imagery combined with physical practice improves skill learning, confidence and emotional control more than physical practice alone. It works best as a supplement to training.
Should I visualize from first-person or third-person? Use first-person to rehearse feel, timing and decisions, and third-person to check technique and form. Many athletes switch between the two.
What if I can’t picture things clearly? Imagery ability improves with practice. Start with familiar places, use all five senses rather than relying only on sight, and use photos or video to prompt detail.
Can beginners use visualization? Absolutely. Visualization helps athletes at every level. Beginners can use it to learn new skills and reduce nerves before their first events.
Start Rehearsing Your Next Performance
Visualization for athletes is one of the simplest, cheapest performance tools you have. It costs nothing, carries no injury risk and can be done anywhere. Pick one skill or scenario this week, follow the seven steps and practise three times. By the time your next big event arrives, you will have already been there.